

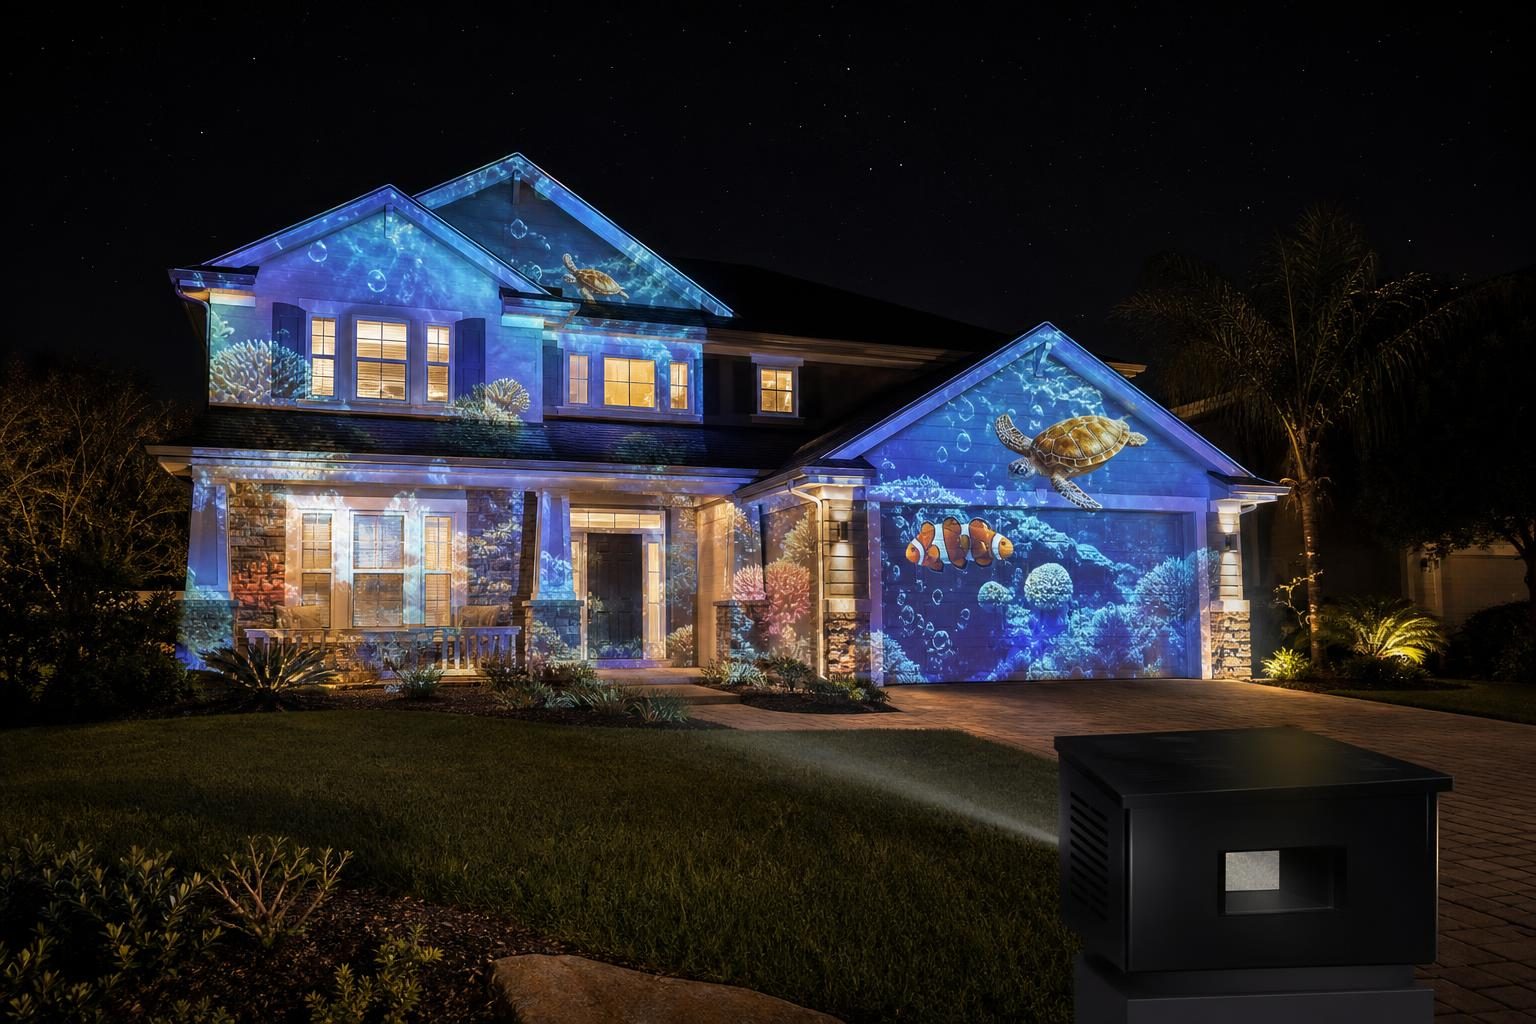
House projection mapping uses a projector, mapping software, and carefully aligned visual content to transform a home facade, garage door, window area, or another residential surface into part of a display. The software shapes the image around the selected surface, but the physical projector still needs a stable, well-planned location. A projector enclosure for house projection mapping can help organize that location while supporting the fit, airflow, cable routing, and clearance requirements of the projector.
This guide focuses on residential house mapping and enclosure selection. It explains how to review a projector before ordering a house projection mapping enclosure, where the Homeline Projector Enclosure fits, how seasonal projects relate to the broader house-mapping plan, and when another enclosure category should be evaluated. It does not replace the specifications for the projector or enclosure, and it does not assume that one enclosure fits every projector or location.
Why House Projection Mapping Needs Projector Protection
A mapped image depends on repeatable projector placement. Even a small change in projector position can move visual elements away from windows, roof lines, doors, or other features used during alignment. A planned enclosure location can help define where the projector belongs and keep the setup organized between alignment checks. The enclosure decision should follow the projector and mapping plan, rather than forcing the projector into a location that does not provide suitable fit or ventilation.
Airflow is a primary consideration because projectors generate heat during operation. Identify the projector’s intake and exhaust locations and preserve open paths around them. The enclosure must provide enough room for the projector body, connectors, and required clearance. Cable routing also matters: power and signal cables need space for their connectors and bends without blocking ventilation openings.
Residential locations can also include ordinary dust and debris associated with garages, covered patios, backyards, and repeated setup activity. An enclosure can provide a defined projector space, but product selection must still be based on the documented environment and product specifications. Review the setup before each use, confirm that ventilation paths remain clear, and verify alignment after any change to projector or enclosure position.
Plan the projector location early enough to test the complete image path before finalizing the display. A trial setup can reveal whether landscaping, furniture, windows, or normal household activity interrupts the projection path. It can also show whether the selected location gives the projector enough space for focus adjustments, cable connections, and routine inspection. Record the tested projector position and software alignment so the setup can be checked again after equipment is moved. These practical steps support repeatable residential mapping without assigning unsupported features to the enclosure.
Using the Homeline Projector Enclosure for House Projection Mapping
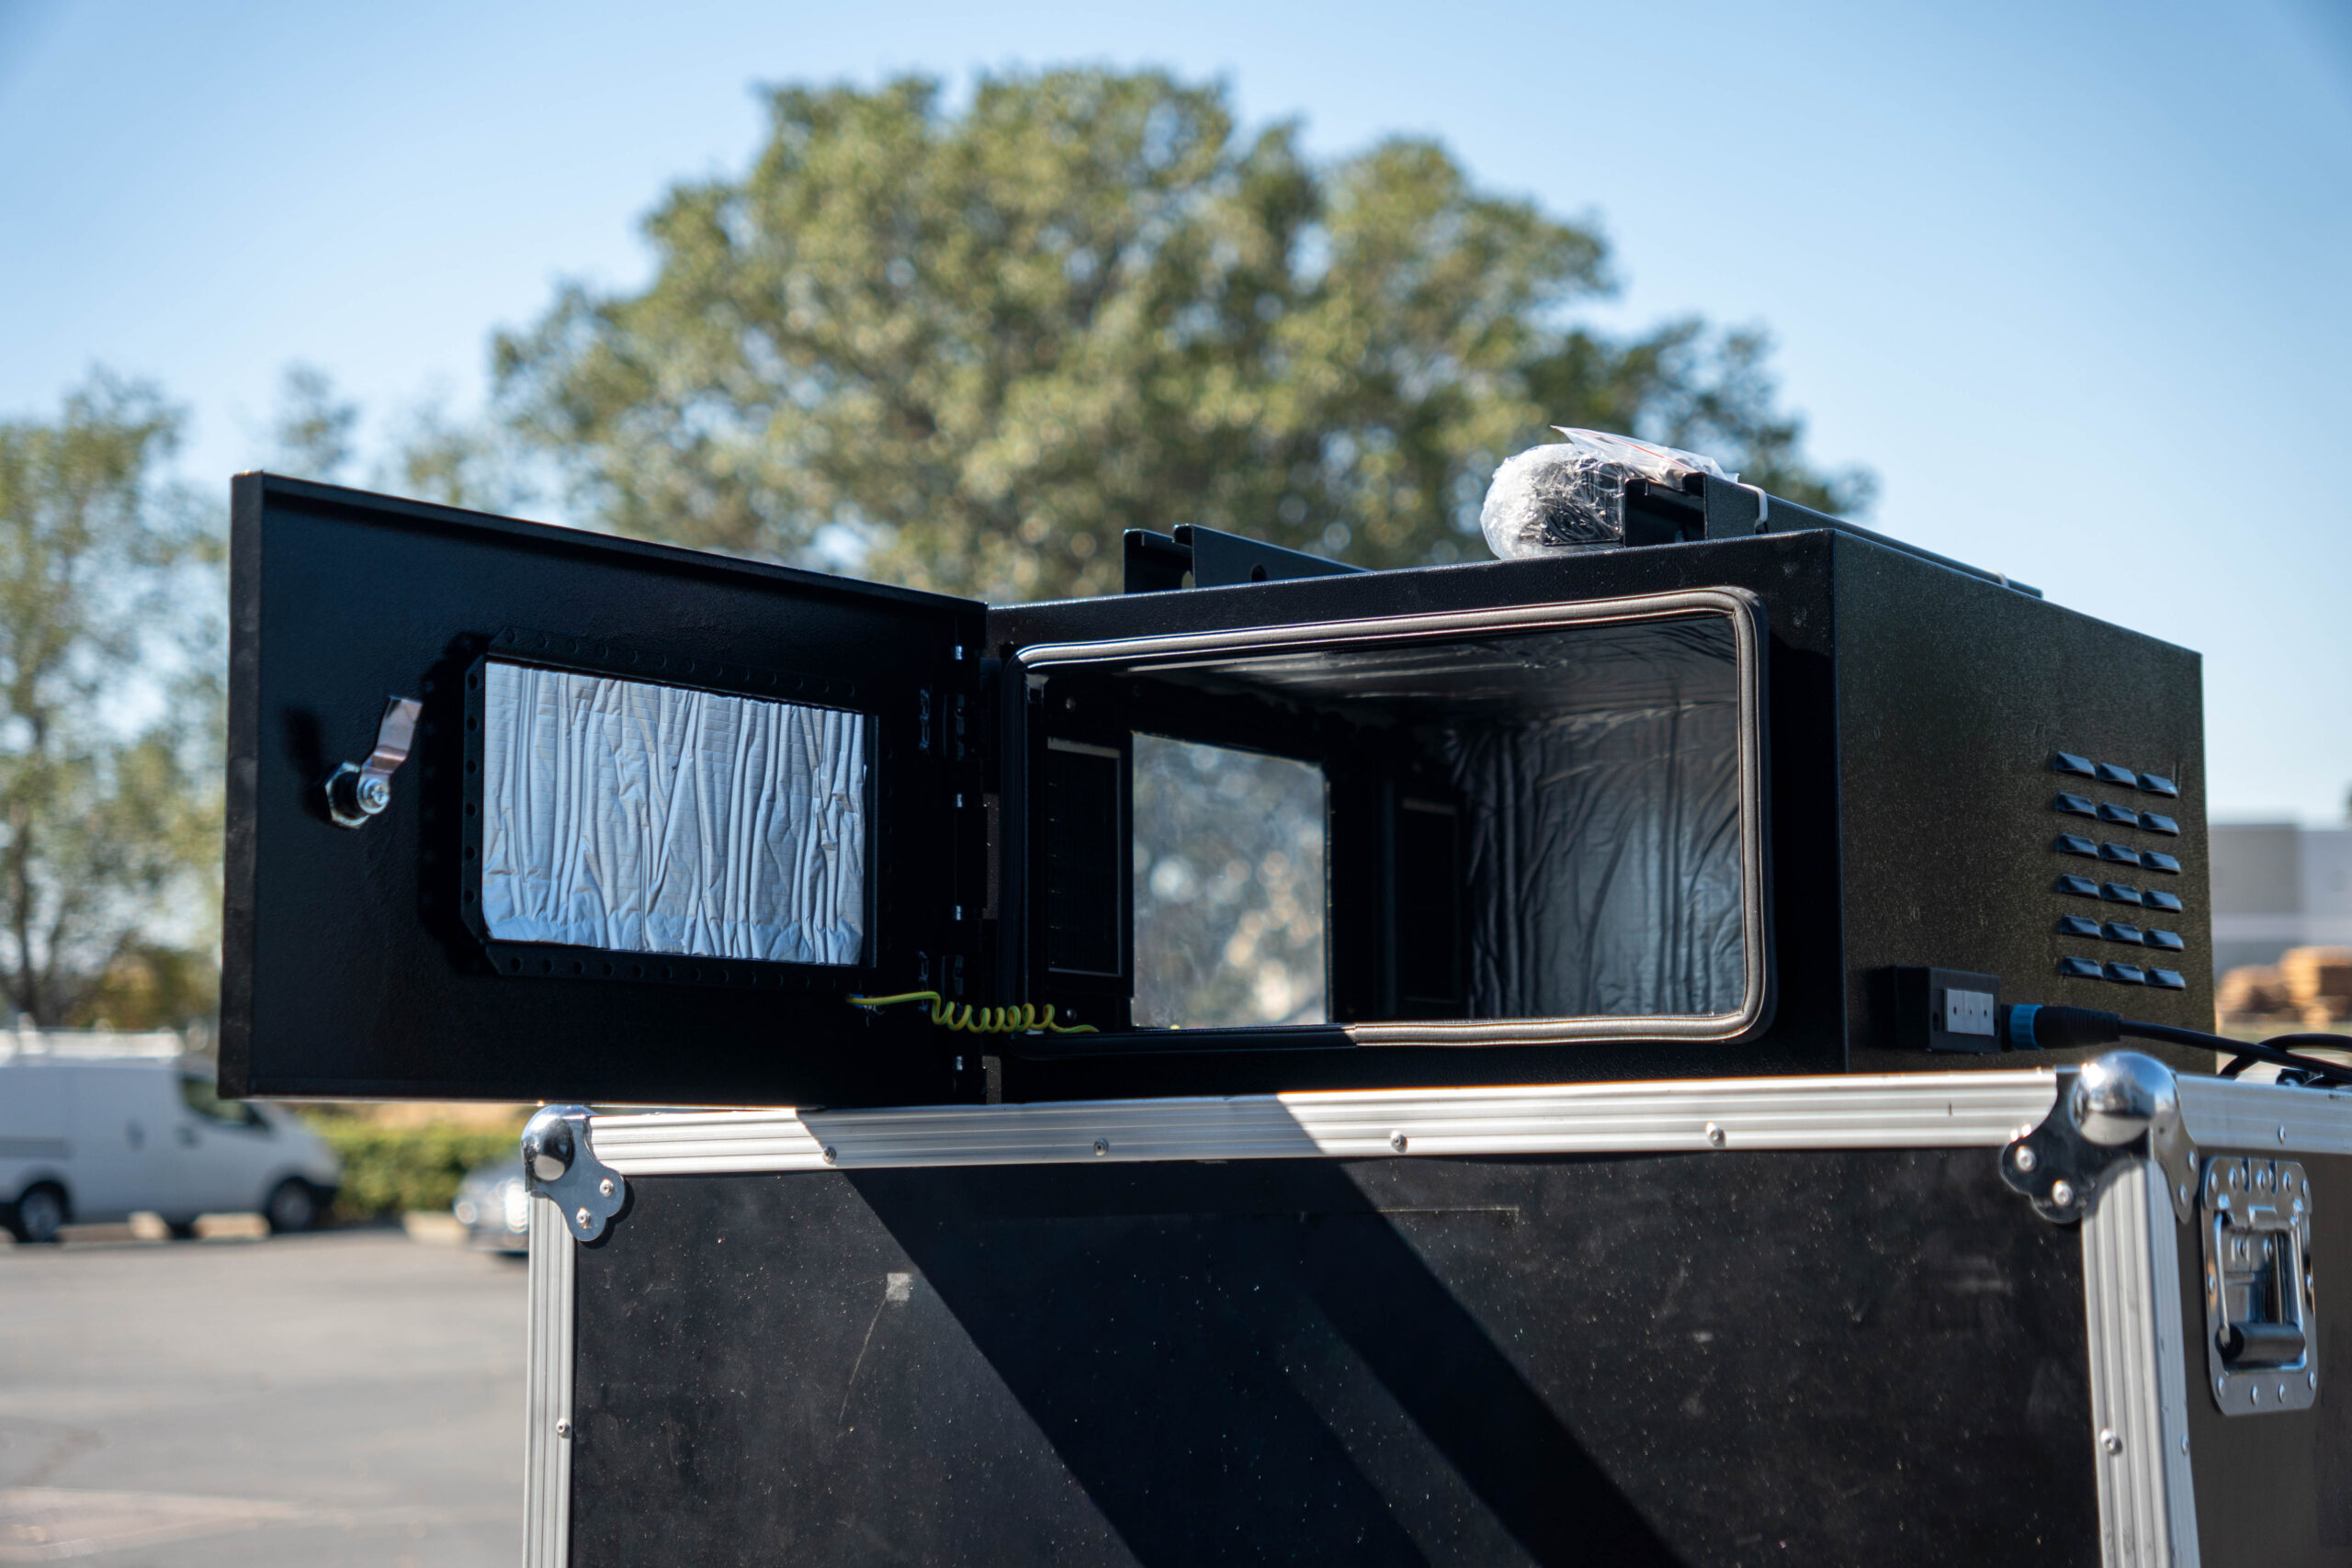
The Homeline Projector Enclosure is the primary consumer product relationship for appropriate residential and mild-environment house-mapping projects. It has a steel enclosure body, weighs 49 lb, and measures 23.66 x 22.60 x 10.83 in on the exterior. Its documented projector fit envelope is for a projector under 7.5 in high, under 16 in deep, and 20 in wide or less.
Homeline uses temperature-controlled fan cooling. It also includes a wired cord, internal outlet, and internal breaker. These are verified product facts, but they do not remove the need to inspect the exact projector. The projector dimensions, lens position, intake and exhaust arrangement, cable connections, and clearance must all be reviewed before ordering.
Documented Homeline uses include home theater, covered patio, garage, backyard, and other mild environments. Relevant applications include DIY projection mapping, house projection mapping, Halloween, Christmas, and seasonal projection mapping. The manufacturer warranty is one year. The product page remains the authority for Homeline specifications and purchasing information; this application page explains how those verified facts relate to a house-mapping project.
Check Projector Fit Before Ordering
Start with the complete projector model number and the manufacturer’s dimensions. Measure or verify the body height, width, and depth, then account for feet and fixed parts that affect the occupied space. Compare those values with the Homeline limits rather than relying on a general size description such as compact or home projector.
Next, identify the lens position. The lens must align with the enclosure opening and the planned projection angle. Confirm the throw distance, image size, lens offset or shift settings, and the relationship between the projector location and the selected mapping surface.
Map the intake and exhaust locations on the projector body. Leave the clearance specified for the projector and avoid placing cables or connectors across an airflow path. Check the depth required by the power and signal connectors, including the space needed for a safe cable bend. Use general cable-routing requirements based on the installed connections instead of assuming one signal connector type.
- Confirm projector height is under 7.5 in.
- Confirm projector depth is under 16 in.
- Confirm projector width is 20 in or less.
- Confirm lens position and projection geometry.
- Confirm intake and exhaust locations.
- Confirm power and signal cable routing.
- Confirm the projector’s required clearance.
If any measurement or airflow path is uncertain, provide the projector model and project requirements to ProjectorEnclosure.com for review before ordering.
Halloween, Christmas, and Seasonal House Mapping
Halloween and Christmas are common entry points for residential projection mapping because a house can become part of a temporary visual story. Halloween content may align characters, textures, or window effects with a facade. Christmas content may use animated accents, patterns, or timed scenes. Other residential projects can support New Year displays, birthdays, neighborhood celebrations, or backyard visuals.
These uses share the same physical planning requirements as year-round house mapping: stable projector placement, correct throw and lens geometry, sufficient enclosure fit, clear airflow, organized cables, and repeatable alignment. This page keeps the broad house-mapping application as its primary subject. For a deeper seasonal checklist and holiday-specific examples, use the residential holiday projection mapping guide.
Projection Mapping Software
Projection-mapping software controls how visual content is positioned, warped, masked, sequenced, and aligned with a physical surface. Common projection-mapping software used in these workflows includes HeavyM, MadMapper, Resolume Arena, and TouchDesigner. Software selection depends on the content, mapping workflow, projector configuration, and project requirements.
Software and enclosure selection address complementary parts of the workflow. Software handles content, masking, sequencing, and alignment. The enclosure decision addresses the projector’s physical fit and operating space. Choose software for the creative workflow, then test the complete signal path and mapped content with the actual projector.
Before the final display, save the mapping project, verify output resolution, test playback, and confirm that the image still aligns after the projector is placed in its planned location. Software cannot correct an enclosure that blocks airflow, lacks connector clearance, or does not fit the projector.
When Homeline Is Not the Right Enclosure
Homeline is positioned for appropriate residential and mild-environment projects. Review the fan-cooled projector enclosure guidance when comparing controlled or covered applications. A more demanding controlled or covered commercial installation should be evaluated against the Integrator option. A harsh or permanent outdoor project requiring stronger environmental protection should be evaluated with the climate-controlled enclosure guidance and the Defender option. These are selection boundaries, not technical specifications for Integrator or Defender.
Do not infer a product rating, environmental limit, electrical specification, or projector compatibility from the series name. Projector type, operating environment, installation duration, fit, airflow, cable routing, and required protection should be reviewed for each project. Commercial architectural mapping remains a separate branch from this residential application page.
Planning a House Projection Mapping Setup
- Choose the mapping surface. Identify the home facade, garage door, windows, or other residential area that will receive the image.
- Choose the projector. Confirm brightness, resolution, throw relationship, and lens controls for the planned image. Projector performance specifications come from the projector manufacturer.
- Plan projector placement. Determine a stable location with a clear image path. Placement planning does not imply that enclosure mounting hardware is included.
- Verify enclosure fit. Compare the projector dimensions, lens position, connectors, airflow paths, and clearance with the documented enclosure specifications.
- Plan power and signal routing. Allow enough room for connectors and cable bends while preserving ventilation.
- Select mapping software and content. Build or obtain suitable visuals, map them to the surface, and test playback with the actual system.
- Test alignment. Verify mapped edges, masks, focus, and image position from the planned projector location.
- Test airflow. Confirm intake and exhaust paths remain clear during operation.
- Review the location. Confirm that the selected enclosure category matches the documented project environment and duration.
Build the Enclosure Decision Around the Projector
A successful house projection mapping setup connects creative planning with physical equipment planning. Begin with the surface and image, select the projector and software, and then verify an enclosure against the exact projector and location. Homeline is the primary recommended relationship for compatible residential and mild-environment uses, but its dimensions and operating requirements must be checked before ordering.
Review the projector model, lens position, intake and exhaust paths, cable routing, clearance, location, and project schedule with ProjectorEnclosure.com. That review creates a more dependable basis for selecting Homeline or evaluating another enclosure category without making unsupported assumptions about the projector or environment.